Showing posts with label For Breakfast. Show all posts

5 May 2015

Lauki/Doodhi (Bottle Gourd) Thepla

An healthy and a low fat breakfast perfect for summer mornings, Lauki/Doodhi Thepla. Its very easy and quick to serve in breakfast or in snacks which accompanies well with a cup of hot masala tea, pickle or curd.
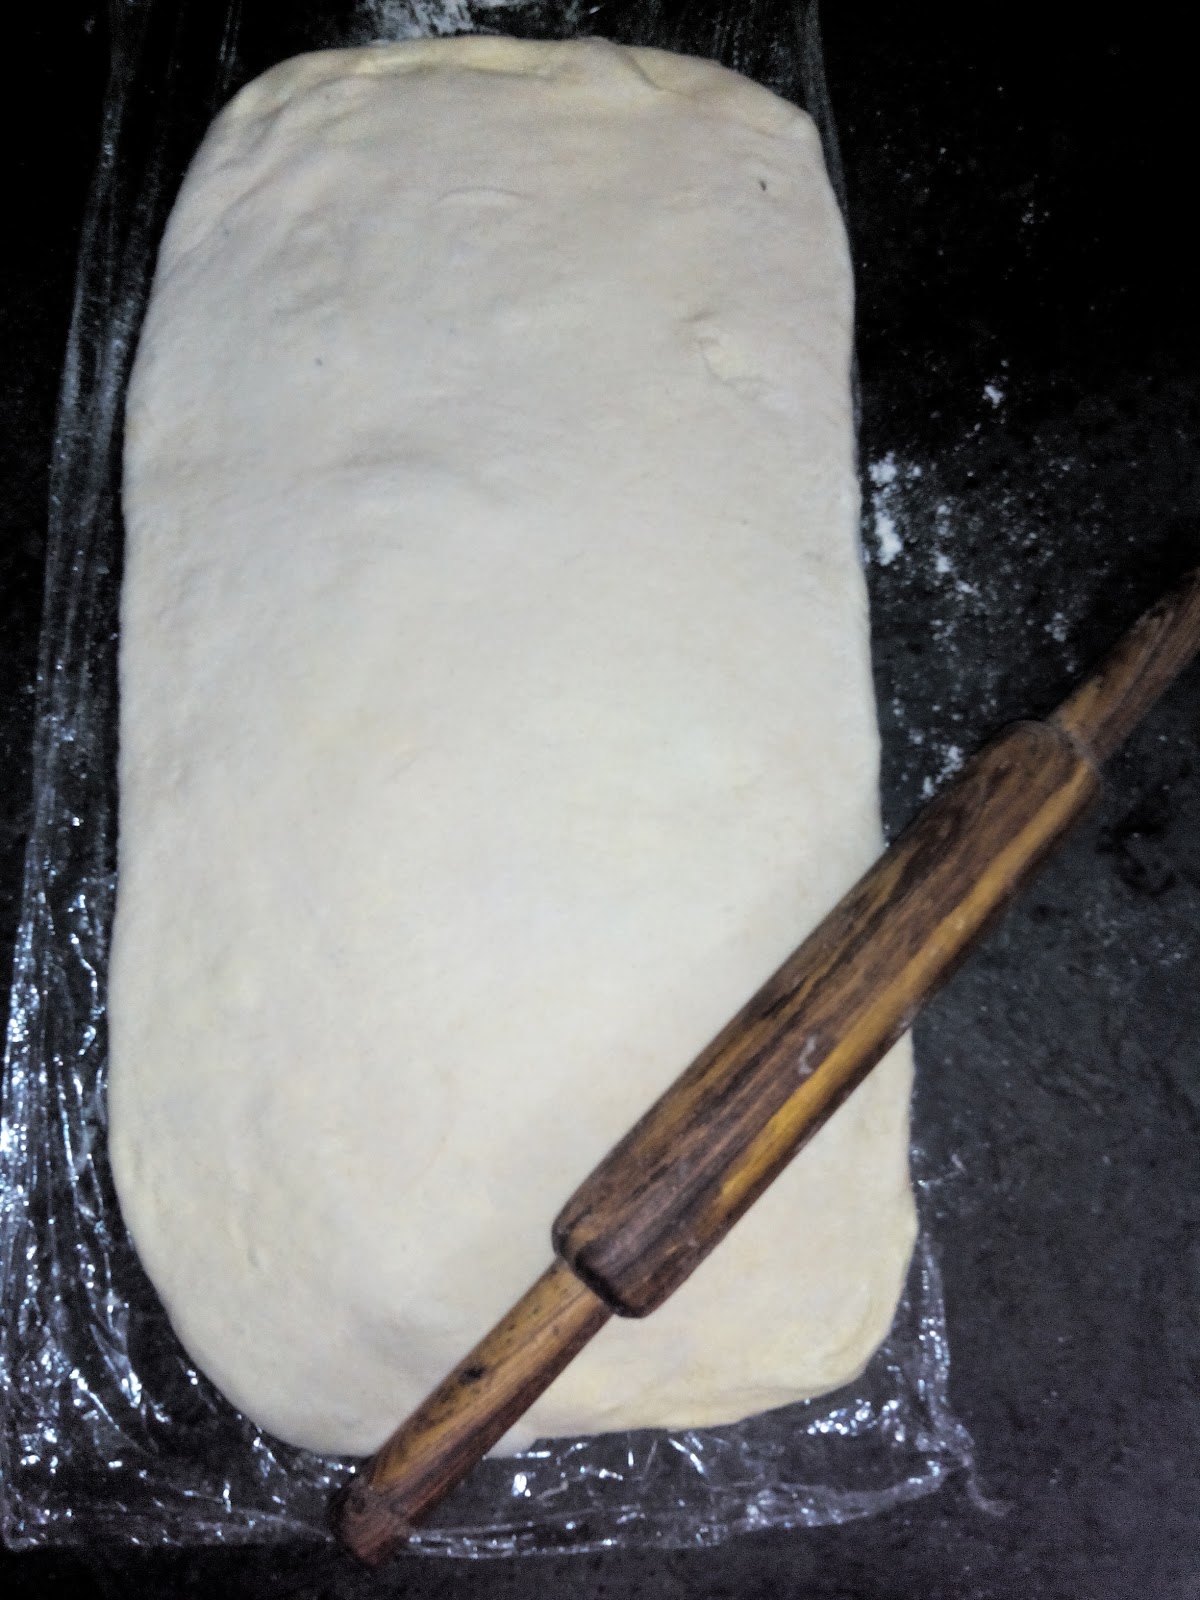
I kept my dough kneaded last night and refrigerated overnight, next day bring it out and after 15-20 min of resting, rolled it in to thin theplas (not compulsory to do so, as I was going to be bit busy this morning, prepared it early).
So let's start making it..!!

cookandsharecookandshare


Ingredients:
1 cup whole wheat flour
1/2 cup Besan (Chickpea flour)
3 tsp vegetable oil
1 cup lauki peeled and grated
2 tbsp curd
3 green chillies, finely paste
1 tsp ginger paste
2-3 pods of garlic, finely paste
1 tsp kashmiri red chilly powder
1/2 tsp turmeric powder
1/2 tsp coriander powder
1/2 tsp cumin powder
1/2 tsp garam masala powder
Salt to taste


Recipe:
  • In a bowl, mix whole wheat flour with besan, vegetable oil, spices mentioned above and salt.
  • Mix all well and keep it aside.
  • In another bowl, grated launki/doodhi. (No need to strain its water)
  • Mix grated lauki/doodhi and curd in the flour mixture.
  • Start kneading the dough ( don't add water immediately, as lauki has its own water which releases, add the water only if required. Else too much water will be tacky to handle the dough). 
  • Dough should be smooth and soft.
  • Let it rest for 5-10 minutes.
  • Pull out the medium size balls from the dough and start rolling in to thin parathas/theplas, with the flour dusted on the rolling board.
  • Place the theplas on the hot tawa with a drizzle of little oil on medium flame.
  • Once you see the bubbles on it, flip turn the other side.
  • Cook until light pink patches.
  • Spoon the oil on the sides of the thepla and spread it evenly. Press it with a spatula and same way flip and again press.
  • Here you are done. Serve it with hot cup of tea, curd or pickle..

13 Mar 2015

Instant Oats and Rawa Dosa

Instant Oats and Rawa Dosa is very easy and simple to make. Usually i keep evening dinner little simple and quick. And this is one of it, with the goodness of oats, rice flour and sooji/rawa. Do try this instant and keeper dinner meal..:)


cookandshare
Instant Oats Rawa Dosa
Ingredient:
1 Cup Oats
1/2 Cup Rawa/Sooji
1/2 Cup Rice Flour
1/4 Cup Beaten Curd
1 tsp cumin seeds
4-5 curry leaves
1 tsp black pepper powder
2 medium green chillies small chopped
1 1/2 tsp ginger paste
1 1/2 tbsp oil
Pinch of asafoetida powder
Salt to taste
Water


Method:
  • Microwave Oats at high for 2-3 minutes. (Can also dry roast it on gas top on medium flame for 2 minutes) Once done let it cool and grind it in to a fine powder.
  • In a bowl, combine finely powdered oats, rawa/sooji, rice flour, beaten curd, cumin seeds, curry leaves, black pepper powder, chopped green chillies, ginger paste, pinch of asafoetida powder, oil and salt to taste. 
  • Mix all well. Add water and whip into a thin and flowy batter.
  • Heat a broad non stick tawa, drizzle little oil and spread it all over tawa evenly.
  • Once the tawa is properly heated, ladle a dosa batter on it and spread it all over evenly in to a thin sheet..
  • Turn the flame to high, once the sides turns pink, carefully flip to the other side. Turn the flame to medium.
  • Once dosa turns semi crisp, fold and serve in a plate with Red Bell Pepper Chutney / Coconut Chutney or Sambhar.


9 Sept 2014

Pasta Stuffed Braided Bread & Nutella-Banana Stuffed Braided Bread

I love baking breads of different shapes and types. Well, this has been my first attempt of braiding and it was so much fun and enjoyment while doing. I have used large qty of flour so that i can make two breads. One bread has the stuffing of Macaroni pasta and that was our dinner which was accompanied with a simple tomato soup that i made, and the other bread is Nutella- banana stuffed bread, that was for breakfast for lazy Sunday. Check both the yummies below and enjoy braiding..!!


Pasta Stuffed Braided Bread:

Ingredients:

For Bread:
  • 1 1/2 cup of Maida/APF (all purpose flour)
  • 1 cup whole wheat flour
  • 1/2 tbsp yeast
  • 1 tsp of sugar
  • 1/2 cup of warm milk (and some extra for brushing the bread)
  • 1/4 to 1/3 cup of water 
  • 1/2 tsp salt
  • 2 tbsp olive oil /or any other vegetable oil

For Pasta Mixture Stuffing:
  • 1 cup of macaroni pasta
  • Sufficient Water to boil pasta
  • 1 1/2 tbsp olive oil or butter
  • 1/3 cup small chopped red bell pepper
  • 1/4 cup small chopped yellow bell pepper
  • 3/4 cup small chopped onion
  • 1/2 cup small chopped tomatoes
  • 3 pods of garlic finely grated
  • 2-3 tbsp small chopped fresh Italian Basil
  • 1 tbsp dried oregano herb
  • 1/3-1/2 cup of shredded cheddar cheese
  • 1/2 tsp black salt powder
  • 1 tsp red chilly flakes
  • Black pepper powder to taste
  • Salt to taste


Recipe:

For Bread:
  • In a large bowl, mix together all purpose flour with whole wheat flour, salt and olive oil. Mix well and keep it aside
  • In a small bowl pour warm milk and mix it with sugar and instant dry yeast. Stir and keep it aside atleast for 10 minutes or until mixture turns frothy.
  • Once the yeast mixture in a small bowl turns frothy, add the same in flour mixture. 
  • Add water slowly gradually to form a dough. Knead for 5-6 min or until smooth, soft and elastic but a non sticky dough.
  • Grease the dough with oil and cover the dough loosely with a plastic cling film and allow it rise in a warm place, until it doubles in volume (approx 1hr- 1hr 30 minutes). 
  • Meanwhile prepare pasta stuffing..

For Pasta Stuffing:
  • Chop all the ingredients listed above for making pasta stuffing..
  • In a small pan, pour sufficient amount of water for boiling pasta and let it boil.        
  • Meanwhile in another pan, heat oil or butter, add small chopped onion and finely grated garlic. Saute it for a while until onions are translucent and soft. 
  • Now add small chopped red and yellow bell pepper, small chopped tomato, black salt, dried oregano chilly flakes and shredded cheddar cheese. Mix all well until cheese melts.
  • Now drain water from the boiled pasta. Add those pasta in a pan mixture and cook further for 2-3 minutes. 
  • Turn off the flame and sprinkle those small chopped fresh Italian Basil on top. (Sprinkling fresh chopped basil lastly, will keep its aroma and taste more alive).
  • For braiding and stuffing:
  • Now come back to dough.
  • Punch the dough down which has rised and doubled in volume.
  • Sprinkle some flour on a work surface and bring the dough down there. Knead for few seconds.
  • Divide the dough in two equal dough balls and keep the other aside.
  • Roll the dough ball with a rolling pin in a large square shape
  • With Pizza cuter or a sharp knife, make cuts 1 inch apart on the sides of the long rolled dough as shown below and spread the stuffing in centre
  • Alternately, cross the strips over the stuffing and seal the ends and edges slightly to avoid stuffing coming out.
  • Carefully lift the braided bread and place it on baking tray dusted with flour.
  • Cover it lightly and allow it rise for about 30-35 minutes.
  • Prehaet the Oven at 200 degree Celsius.
  • Brush the rised braided bread with milk and bake it for 22-25 minutes in preheated oven.
  • Once done, bring out and allow it to cool on wire rack
  • Slice  and serve..!!


Nutella Stuffed Braided Bread


Nutella-Banana Stuffed Braided Bread

Ingredients:
Above half dough ball
1 cup Nutella 
3 medium ripe bananas
Milk for brushing the dough

Method:
  • As described above, follow the same pattern.
  • Simply roll the dough in to a rectangle, make cuts 1 inch apart on the sides of the long rolled dough, spread nutella and banana in the center and cross the strips over the stuffing and seal the edges.
  • Carefully Lift the dough and place the same in a baking tray dusted with flour.
  • Cover it and allow to rise for 30-35 minutes, brush the rised bread with milk and bake for 22-25 minutes in preheated oven at 200 degree Celsius.
  • Slice and Enjoy with cup of hot coffee..!!


3 Sept 2014

White Sandwich Dhokla

White Dhoklas are very easy, tasty and healthy breakfast or an ideal for tiffin pack. Here i have sandwiched the dhoklas with green coriander chutney, but feel free to use any other chutney of your choice..


Ingredients:

For White Dhokla
1 cup Rice
1/4 cup Sabudana (Sago)
1/4 cup split white gram dal (white Urad dal)
1/3 cup beaten curd
2 tbsp oil
2 tsp green chilly paste
1 tsp ginger paste
1/2 tsp bicarb soda
1 sachet of Plain Eno fruit salt
1 tsp black pepper powder
2 tsp lemon juice
Salt to taste

For Sandwich
1/3 cup Green Coriander Chutney

For Tempering:
5-7 Curry Leaves
1 tbsp oil
1/4 tsp mustard seeds
1 whole green chilly slit

For Garnishing, few fresh chopped coriander leaves


Recipe:

For Dhokla

  • Soak Rice, sabudana, white gram dal in water for 4-5 hours. 
  • Drain the water and grind the mixture by adding about 1/3-1/2 cup of water to a fine batter. Consistency of the batter should be thick, but of a pouring consistency.
  • Transfer the grind batter in a large deep bowl, add beaten curd and whisk all until no lumps. Cover the bowl with a lid and keep it in warm place to ferment overnight.
  • Heat sufficient water in a steamer. Grease two Round dhokla plates with oil.
  • Mean while, add green chilly paste, ginger paste, black pepper powder and salt to taste. Mix all well.
  • Stir bicarb soda, lemon juice and Eno fruit soda in a small bowl and add immediately to the batter.
  • Whisk well all and pour the batter in to greased dhokla plates.
  • Place the ready plates in the steamer. Cover with the lid and steam for 10-12 minutes on medium flame.
  • Once done check with the knife to see if the dhokla is cooked. If it comes out clean, it is done.


For sandwiching with Green Coriander Chutney

  • Take out the plates from the steamer. Allow it to cool slightly and remove the dhokla from plates.
  • Place one layer on to the  plate and apply Green Coriander Chutney generously and cover it with other dhokla layer.


For Tempering:

  • Now heat oil in small fry pan, add mustard seeds, as soon as it splutters, add heeng powder, currry leaves and slit green chilly. Pour the tempering on the dhokla.
  • Garnish it with few fresh chopped coriander leaves.
  • Cut in to squares and here you are ready to serve..


7 Aug 2014

Coffee Custard Filled Buns

Since long i was planning to bake buns but always end up making loafs..But this time it was only buns in mind. Few time back my dear friend Priyanka Chakraborty, posted Custard filled buns on Facebook food forum group that i follow. I bookmarked her recipe link. And yesterday was a day when i was checking all those bookmarked links and came across her recipe. I quickly made up my mind and experimented it with small batch.
Her recipe has vanilla custard filling inside, but i wanted to bake something with coffee flavor so i added instant coffee powder and cocoa powder to the vanilla custard and filled the bun with it..

Check my coffee Custard Filled buns recipe below:

cookandsharecookandshare

 Here is her Blog page with all wonderful goodies..Following her blog is truly inspirational..
Source: My Experiments with Food-Lusciously Soft and Creamy Custard Buns

Ingredients:

For Coffee Custard Filling
3 tbsp custard powder
500 ml milk
7 1/2 tbsp sugar
2 tbsp fresh cream
11/4 tsp instant coffee powder
2 tsp cocoa powder

For Buns
2 cups Maida / All purpose flour
1/4 cup powdered sugar
1 tsp Instant Dry yeast
1 beaten egg
100 ml warm milk and some extra for brushing buns
Olive oil / Butter for greasing bun dough
3 tbsp melted butter
1/2 tsp salt
1 tsp sugar (For activating yeast)

Recipe:

For Coffee Custard Filling

Dissolve Custard powder, Instant coffee powder and cocoa powder in 2 tbsp milk and keep aside.
In a pan Pour milk, add sugar and cream and bring to boil. Turn the flame to medium and add the dissolved coffee custard mixture in a pan. Keep stirring until mixture thickens and very much similar to the cake batter consistency. Allow the mixture again to come to boil while you keep stirring and turn the flame off. Pour the filling in bowl and allow it cool completely. Later place the bowl in a refrigerator for 1-2 hours or until custard sets.
Meanwhile be ready with your bun dough..

For Bun Dough


  • In a large bowl, Mix sifted Maida or all purpose flour with powdered sugar, melted butter, salt and mix all.
  • Dissolve Instant dry yeast in warm milk with a tsp of sugar. Let the yeast mixture stand for 10-15 minutes until frothy.
  • Now in a flour mixture bowl, make well in between and add beaten egg and mix.
  • Add frothy yeast mixture in flour mixture and start gathering all to form a dough. Knead dough for 4-5 minutes until smooth, elastic and non sticky.
  • Grease the dough in a bowl with butter or oil and cover the bowl with plastic cling film or tea towel and allow the dough to proof for 1-1/2 hour or until doubles in volume.
  • Once the dough doubles in volume, punch back down and knead again for a minute. Prepare a baking sheet. 
  • Divide dough in to 11-12 lemon size balls. 
  • Take a lemon size dough ball, make indentation in between and spoon a tsp of set coffee custard filling in to it.
  • Carefully fold the edges of the dough ball up and around the filling. You can't get any of the filling on the edges or it simply won't seal. Pinch all of the edges together and seal as well as possible (although be careful the coffee custard filling should not be too thin else it will be difficult to fill in dough balls, it should set in refrigerator before use). Same way fill all the dough balls with custard.
  • Place the filled and sealed buns on lined baking sheet and let rest with a tea towel covered for another 30-35 minutes or until nearly doubled in size.
  • Brush all the rised dough balls with milk and bake for 15 minutes in preheated oven at 180 degree Celsius.
  • Once baked, bring the buns out and transfer on wire rack. Allow it to cool completely and here you are ready to enjoy your relish with cuppa of coffee or tea..:)

cookandshare
Note:  I have microwave convection and have baked it on convection mode for 15 minutes in preheated temperature at 180 degree Celsius, and later grilled it for 2 minutes to get nice golden crust on top (Use rack for baking)
If using Proper Electric oven, bake the buns on toast mode for 10-12 minutes in preheated oven at 180 degree Celsius or until crust is golden.


Yields: 10-12 Buns with this measurement.


27 Jul 2014

Oatmeal & Bulgur Wheat (Daliya) Bread

It was Since long i wanted to try something different ingredients for making bread other than usuals...Came across many recipes which Uses different sorts of grains, honestly speaking, i wanted try those mix grain bread but i was not having all the grains handy so thought, why not to use which is available In pantry already..
So here is my Bulgur wheat (Daliya) and Oatmeal bread. A healthy wealthy bread mixed With goodness of wheat germ..Have a look to the recipe below.It is really "Worth trying".


cookandsharecookandshare

Ingredients:

cookandshare
Whole Wheat Germ
For Sponge:
1 1/4 tsp Instant dry yeast
1/3 cup bulgur wheat (fine or coarse grind)
1/3 cup oatmeal (any variety, coarsely grind)
1/4 cup wheat germ (finely grind) (optional)
1 cup sifted maida  / all purpose flour
1 tsp sugar
1 cup lukewarm water (not hot)

For Bread:
Above all sponge mixture
1 cup sifted maida (and a little extra for dusting and kneading)
1/4 cup + 2 tbsp Luke warm water
2 tbsp olive oil or any vegetable oil(and a little extra for greasing dough)
1 1/2 tsp salt


Method:

For sponge
  • In a small bowl, mix a cup of sifted maida/ all purpose flour with, sugar, fine or coarse grind bulgur wheat, coarse grind oatmeal and finely grind wheat germ, instant dry yeast and a luke warm water.
  • Mix all the sponge mixture, cover and let it rest for about 15-20 minutes.
  • After 15-20 minutes, here you are ready with your sponge...


For dough:
  • In a large bowl, mix a cup of sifted maida/all purpose flour with salt and olive oil/vegetable oil and mix.
  • Now add in all sponge mixture to it, start gathering in to a dough. Add a 1/4 cup of water and little more to accumulate all into a sticky dough mix.
  • Knead for few minutes, until dough is smooth, soft and elastic. (Can use a little qty of flour for dusting and kneading the dough)
  • Once done, grease the dough in a bowl with oil.
  • Cover the bowl with a plastic cling film and allow it to rise for 30 -40 minutes or until double in volume.
  • Once the dough doubles, deflate it by punching the dough down.
  • Knead for a minute and shape the dough to a loaf.
  • Place the shaped dough in to a loaf pan.
  • Cover the loaf pan with a tea towel and allow the dough to rise further for about 1-1 1/2 hr or until doubles in volume.
  • Mean while preheat oven at 180 degree Celsius.
  • Bake the bread for 20-25 minutes in preheated oven at 180 degree Celsius (place a bowl of water in lower rack of oven and bread on top, this gives a moist and nice color crust to bread).
  • Once baked, bring the bread out of oven and in a minute or so remove the bread loaf from a loaf tin.
  • Place a loaf on a wire rack and allow it to cool completely.
  • Here you are ready with a nice rustic bulgur and oatmeal bread.
  • Slice and enjoy....:)


26 Jul 2014

Puffed Amaranth Granolas (vegan-gluten free-low fat)

Since few days i was planning to bake granolas for breakfast but apart from oats and other grains, i wanted to bake something with Amaranth grains, as it was lying since long in my shelves. And believe me it was a big big biggg hit at my place and at my husband's work place too. Its Nutritional values are so attractive for weight watchers, so have to definitely bake it for my hubby. Its Low fat, low calorie, gluten free and sugar free Amaranth Granolas. All in one with a healthy, quick and easy meal in itself. 
I was already having puffed amaranth, but if you have unpuffed amaranth grain, than check below, popping amaranth.

cookandsharecookandshare


Ingredients:

2 cups puffed amaranth
1/2 cup honey
1/3 cup raisins
1/4 cup small chopped almonds
1/4 cup small chopped pistachios
1/4 cup small chopped dry figs
1/2 tsp green cardamom powder for flavor (Can also use cardamom  or vanilla essence, i personally prefer using cardamom powder)
2 tbsp pumpkin seeds
1 tsp salt


Recipe:
  • Pre-heat oven at 180 degree Celsius.
  • In a large bowl, Mix all the above listed ingredients well together.
  • Grease lightly, parchment paper in baking tray and spread the Amaranth Mixture equally all over in a tray.
  • Bake it for 20-25 minutes in preheated oven at 180 degree Celsius. 
  • If you prefer your granola to be more crunchy, bake little more, about 40-45 minutes while keeping continuous check to avoid burning. (Baking 40-45 minutes will form bars)
  • Once baked, bring the tray out and allow the granola to cool. (If baking for 20-25 minutes, Granola will be little moist, if baking more than you will get granola bar pieces. As i myself prefer having granolas rather than its bar, so i end up baking for 25 minutes).

Amaranth Granola Parfait:
Granolas
Beaten yogurt/dahi-1cup
Small Chooped in to cube- 1 Mango
Pomegranate Grain- 1 cup
Small Chopped In to cube Sugar Melon-1 cup

Method:
In a glass, firstly layer the bottom with granola, than yogurt/ dahi, than fruits above. Repeat layering all, till the rim of the glass and here you are ready with your healthy Amaranth Granola Parfait for breakfast...


cookandshare
Puffed Amaranth Granola Parfait


Popping Amaranth:
Heat an aluminium pan on a medium flame, and empty 1/4 cup of amaranth grain in it. (1/4 cup of dry Amaranth yields 1 cup puffed amaranth)
Take any cotton cloth and press amaranth in a pan, you will notice after few minutes it will start popping. At that point, avoid pressing further and cover the pan with a lid on and keep tossing the pan. Once all the grains are popped up, turn the flame off. (Procedure for Popping amaranth is much similar popping popcorns)
This is how Puffed Amaranth looks like :

18 Jul 2014

Baked Gujarati Handvo

Handvo is a baked savory and spicy cake which is a part of Gujarati cuisine and prepared with rice and daals. This can be prepared both on stove top in a nonstick pan with little oil on low flame as well as in oven. Here i have made Handvo using oven in a lightly greased cake pan and it turned out wonderful....Big loud thanks to my mom and her handmade yummy recipes...

First Let's learn how to make Handva Batter Mixture...


cookandshare
cookandshare


For Handva Batter:
1 cup Rice
1/3 cup Chana dal (Bengal Gram)
1/3 cup Tuver dal (Pigeon Pea)
1/4 cup White Udad dal (White gram lentil)
  • Wash and Soak Rice and daals in water for 4 hours.
  • After 4 hours, grind coarsely all the Ingredients in a mixer grinder jar. (Make sure, handva batter should be coarse and not too thin batter)


Handvo Recipe:

Ingredients:

2 1/2 cup Coarsely Grind Handva Batter
1 1/4 cup grated Dudhi (Bottle Gourd/Lauki, can also Zucchhini)
1/4 cup sour dahi / yogurt
1/2 tsp baking soda
1 tsp of Eno Fruit soda
1 tsp Turmeric powder
1 tsp Garam Masala Powder
1 tsp Cumin Powder
2 tsp Red Chilly Powder (Can adjust the measurements suitable to your spice level)
1 tsp dry methi powder (fenugreek powder)
2 green Chilly's paste
1 tsp Ginger Paste
1 tsp Garlic Paste (about 3 pods of garlic)
1 tbsp jaggery powder
1/4 cup roasted split peanuts
3 tbsp vegetable oil or can use olive oil too
Salt to taste

For Tempering:
2 tbsp vegetable oil or olive oil
11/2 tsp white Sesame seeds
1 tsp mustard seeds
1 tsp red chilly powder
1/2 tsp Heeng (asafoetida powder)
1 whole dry red Chilly

Method:


  • In a Large bowl, Mix coarsely grind handva batter with oil, sour dahi or yogurt and baking soda.
  • Mix all, Cover and allow to ferments for atleast 6-7 hours.
  • Pre-heat Oven at 200 degree Celsius.
  • Once the batter is fermented, add grated dudhi, Ginger-Garlic-Green Chilly Paste, Turmeric powder, cumin powder, garam masala powder, red chilly powder, methi powder, jaggery powder, roasted split peanuts, salt to taste and lastly Eno fruit soda.
  • Mix the batter well and pour the entire batter in to the greased cake mould.
  • Once the batter is in a cake mould, its now we gonna temper it.
  • In a small fry pan, heat oil and add mustard seeds, as soon it splutters, add whole dry red chilly, heeng powder, red chilly powder and lastly sesame seeds. Turn off the flame and immediately pour evenly on to the handva batter.
  • Bake it in preheated oven at 200 degree Celsius for 50-60 minutes or until knife inserted comes out clean.
  • And here you are ready to serve hot handva with a cup of ginger tea...
cookandsharecookandshare


5 Jul 2014

Jam Filled Croissants

Recently we had a freshly baked croissants on our holiday. Me and My husband is very much fond of it and thus i wanted to try the same at home. Came across so many recipes, but was finding it little complex to work on as i was unable to understand the procedure. But few picture inscrutable for shaping croissants made little easy to understand..Here i have tried my best to make all you viewers to get proper understanding.
As this summer i stored mango jam in a large qty so thought to make Jam filled Croissants for breakfast...
But to be honest, i was little disappointed with the color crust as i myself forgot to Egg wash the Croissants that gives a nice glaze and golden crust.
Please be careful and don't forget to egg wash before baking...I have mentioned below for the same.

cookandsharecookandshare


Ingredients:

For Dough:
3 cups Maida / All purpose flour
3/4 cup warm milk
1/2 cup water
1 tsp sugar
1 1/4 tsp Instant dry yeast
1 tsp salt
2 tbsp olive oil
1 1/4 cup cold grated butter

1 beaten egg for egg washing the croissants.

For Filling:
1 cup home made or store bought Mango Jam (Click on the link for the jam recipe)

Note: I used mango jam but feel free to use Jams or preserves of your choice. For filling Per croissant, you will need 1 tsp of jams/preserve that you will use. Best part is,  you can play with the fillings inside and create your own version...Dough measurements will remains same.
Try the one Savoury croissants.


Recipe:


  • In a small bowl, pour milk and sprinkle sugar and yeast. Let the yeast mixture stand until frothy, about 15 minutes.
  •  In a large bowl, Mix Maida / All purpose flour with salt and olive oil. Now pour frothy yeast milk mixture in to it, pour water and accumulate all into a sticky dough mixture. (You may need extra flour for dusting and kneading the dough to form a smooth, soft and elastic dough)
  • Keep Kneading for 5 minutes until smooth, soft and elastic. Grease the dough with olive oil, cover it with a plastic cling film and allow it rise until doubles in volume, about 30-35 minutes. 

  • Mean while tear a cling film and grate cold butter on to it. Disperse a little and cover it with the cling film. Refrigerate the butter in a cling film about 40 minutes or an hour, until again hard and stiff. 

(see the picture below)


  • Once the dough rises, deflate it by punching down. 
  • Again tear a cling film and place it on a work surface, sprinkle it with some flour and bring the dough on the dusted cling film, knead the dough for 2 minutes. Roll the dough with a rolling pin in a rectangular shape.


Bring out the dispersed chilled butter from fridge. Unwrap it and place it on the rolled dough and make 2 folds of the dough. Roll it again with a rolling pin and again make 2-3 folds out of it. Wrap the dough with the film and refrigerate for atleast 30 minutes.
(see the picture below)


  • After 30 minutes bring the dough out, unwrap the dough and roll. Fold it as shown above, Re-wrap and refrigerate again for 30 minutes. Repeat the procedure for total 4 times. (i know its little time consuming but for achieving something good and best it does takes time and the end seeing the results you will feel worth doing this, infact i enjoyed the whole process and i am sure you too will)
  • Now once you finish the rolling and wrapping procedure four times, its time for making croissants and its filling...( Alas Finallyy...;) 


For shaping Croissants:

(Follow the step-by-step pic below)

  • Unwrap the dough, roll it in a large rectangular shape about 16"x7"
  • Cut the rectangular dough in half diagonally forming 7-8 triangle. 
  • Take one triangle of the dough, pull on the corners of  a triangle unlike a little stretching. 
  • Take a tsp of Mango jam or preserves of your choice and place it on a triangle dough, fold it till the end carefully..Like wise make croissants of each triangle and line it on a greased baking tray.
  • Cover the tray with a tea towel and allow the croissants to rise for about an hour.
  • Once it rises, egg wash the top of all the croissants before baking. 
  • Pre-heat oven at 180 degree Celsius.
  • Bake the rised croissants for 20 minutes and after that reduce the temperature at 160 degree Celsius and allow to bake more for 15 minutes, or until you get nice golden crust on top. (place a bowl of water in lower rack of oven and croissants on top rack, keep a check on the crust to avoid over baking and burning)
  • Once Baked allow all the croissants to cool on wire rack.


Here you are ready with your freshly baked Jam Filled Croissants for breakfast..
Enjoy...:)